

GameArt Spotlight #24
"Episode 1" by Dpi
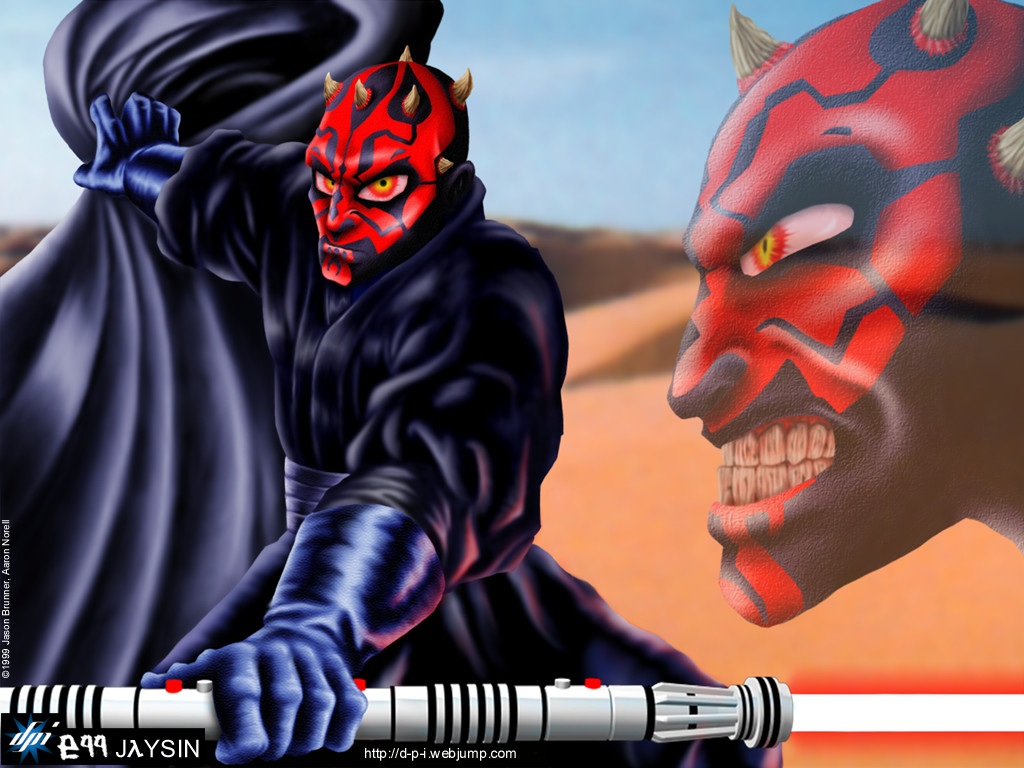
Image details
- Title: Episode 1
- Gallery ID: 00593
- Artist name: Dpi
- Posting date: 1999-06-15 (a Tuesday)
- Artist website: http://d-p-i.webjump.com
- Tags: Star, Wars, Episode, 1, darth, maul, drawn, painted
- Image size: 41.82 KB
- Votes: 25
Please be sure to read the Copyright & Legal information text on the About & Help page.
Spotlight article
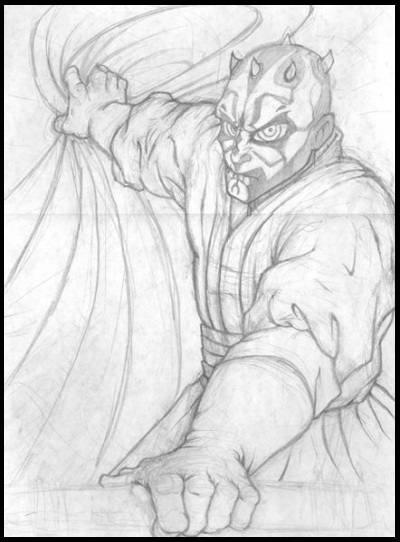
All of the DPI images start off the same way; with one of Aaron's sketches. This time the subject was Darth Maul, kick ass villain from Episode 1. I can't really give too many tips with this part of an image's creation since all it really takes is years of practice and some natural talent.
Once Aaron hands the sketch off to me it's scanned and brought into Photoshop. I've tried numerous ways of colouring line art in Photoshop and have settled with the following method. First convert your line art to "Grayscale" in the Image/Mode section. Once your image is in grayscale mode go to the channels pallet and select your "Black" channel. Duplicate the black channel and then invert the copy (ctrl + I). You can then change your mode back to "RGB color". Load the copied black channel as a selection and then on a new layer fill the selection with black. If everything went as it should you'll have an exact copy of your drawing on a "floating" transparent layer.
To make the colouring as easy and quick as possible I separate the major areas of colour onto their own layers. Having each section of colour on it's own layer helps in selecting that area later and also by using the "Preserve Transparency" toggle for each layer you eliminate the need for saving and loading a lot of selections. Using so many layers does cause larger images to take up a lot of RAM. That's why I usually separate each character into their own file, colour them separately, and then bring them back into the main piece as flattened images.
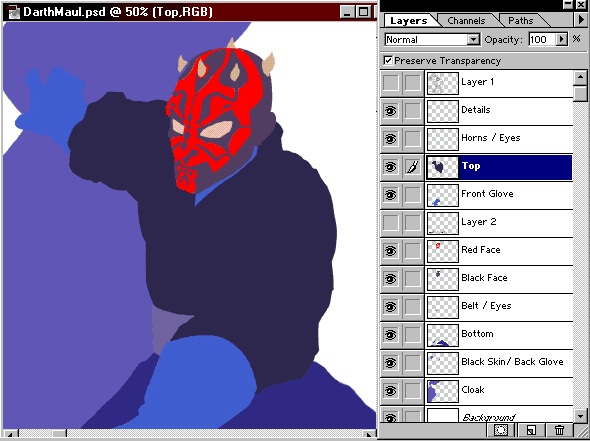
The areas are blocked out first using flat colours. Don't be too picky in your choice of block colours since you can always adjust them later with the Hue/Saturation (ctrl + U) command. Once you have your base colours laid down you can start the shading process. Adding shadows and highlights is the most time consuming part of the picture ( for obvious reasons ). I usually just pick a layer and start shading. I usually create my shadows with the burn tool or the airbrush. A great way of creating shadow with the airbrush is to use the base colour of whatever it is you're colouring and have the airbrush's painting mode set to multiply. Highlights are created in pretty much the exact opposite way. Using the dodge tool or with airbrush having the painting mode set to soft light and white as your foreground colour.
Another reason I like having the line art on a floating layer above the coloured layers is when you're working with a dark image ( like a dark lord of the sith ) you can invert the layer when your line art starts to blend in with what you're painting.

After I'm finished shading I start adding the textures. This is where you can turn an OK looking picture into an amazing one. Adding textures helps to add that hint of photo-realism without too much effort. Darth didn't require too many advanced texturing techniques since his cloak seemed to be made from a soft material with no real pattern to it.
I won't go into any detail about making your own textures since that would be a full blow tutorial, but their is a wealth of pre-made textures in the Photoshop goodies folder. I prefer to apply my textures to another floating layer of their own. That way they remain editable and you can mess around for hours try various combinations of opacity and modes such as multiply and overlay. Another bonus for keeping your colours on separate layers is that when you want to texture just the coloured areas of a layer you can "Group" the textured layer to your colour layer. There are some texture effects that are just too hard to pull off by having them on their own layer and that's where the Texturizer filter comes in. Using the Texturizer filter is like being able to bump map in 2D. Try loading up all of those textures in the goodies folder and see what crazy effects you can pull off.
Another way of adding that finishing touch is with 3D modeled props and backgrounds. Darth Maul's lightsaber was rendered in 3D Studio Max. It was created by Jedimaster and all I had to do was download it from the SWMA, position it in 3DS Max and render. There are a lot of free models available around the net that can help add that realistic touch and save you hours of grief. Of course spending the time to learn how to 3D model is another highly recommended way to go ( if only there were more hours in a day : ).
Our backgrounds are occasionally hand drawn but an easier way is to use a pre-existing photo and manipulate it to suit your needs, screenshot from a video game, or 3D model it in a program like Bryce.
Well, I guess that's it for now. I hope you liked this mini-tutorial, and if you'd like an uncompressed version of Darth Maul for your desktop you can head on over to our site at http://d-p-i.webjump.com.
Text written by Dpi for GameArt.com