

GameArt Spotlight #26
"Flawless" by Thomas Miller
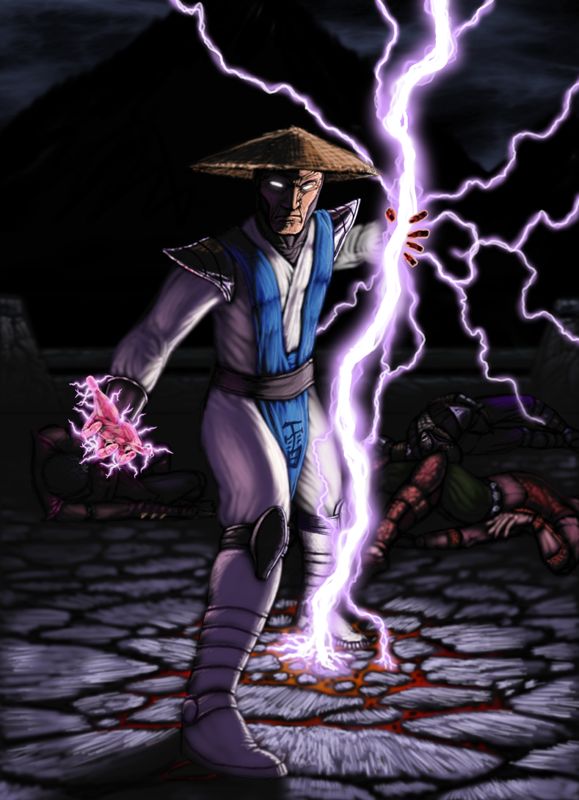
Image details
- Title: Flawless
- Gallery ID: 00594
- Artist name: Thomas Miller
- Posting date: 1999-06-15 (a Tuesday)
- Artist website: http://pages.preferred.com/~smdragon
- Tags: Mortal, Kombat, 4, mk, chinese, fight, flash, drawn
- Image size: 64.56 KB
- Votes: 25
Please be sure to read the Copyright & Legal information text on the About & Help page.
Spotlight article
This picture started out the same as all of my work... with several pencil sketches. I do lots of thumbnails and detail sketches to get the composition and pose down. I then scan them and piece together the parts I like the best to get a rough image.
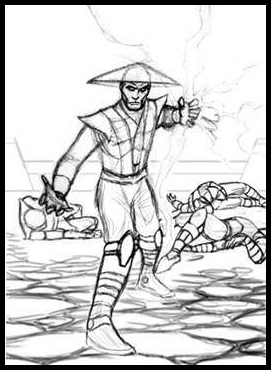
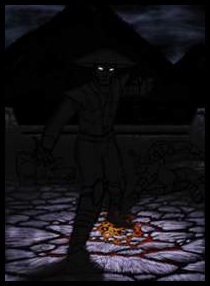
Once that's done, I clean it up a bit and do more detailed drawings where they are needed. I usually use PhotoShop for this step, but any art program will do since I would be painting over all of it. Once I had the B&W sketch, I did grayscale tests to see where I wanted the light direction to be, and where shadows would fall. Then I put them into PhotoShop and make a layer of solid black. All other layers are built on top of it.
I like to work from the darkest shadows to the lightest parts. I have the entire scene lit from the bolt of lightning, then I have a secondary light coming from Raiden's other hand. I have the different lights on separate layers so that when you turn off a layer, it looks like you've turned off the light. This makes it easier to control what the light is hitting and fix mistakes later.
I started with Raiden's face and hands because they would have the most detail. Then I did his clothes and straw-hat building up from the darkest colors to the lightest. Finally I added the lighting and sparks on the other hand.
Now that I had the lighting well established, I worked on the fallen warriors that are thrown about in Raiden's wake. I chose characters from MK4 for their cool outfits and colors. I colored then the same way as Raiden - from dark to light using the bolt as the main light source.

The scenery and background were done last. I went through alot of web-sites looking at the screenshots from all the MK games to choose a Zone. The one I chose came from MK2 I think. The whole area is lit by the lightning. Where the lightning strikes the ground I made the rock and ground beneath Raiden's feet superheated. Lastly I erased away the shadows on the zone layer for Raiden and the unfortunate victims. Now the picture is nearly finished. The last thing I do is adjust colors and contrasts on the layers so the overall colors would match, and add symbols to the outfits.
That's it! Then it was off to the print shop. This picture when printed was almost the size of a door! I hope this step-by-step was helpful, and I hope you all enjoy the picture.
Text written by Thomas Miller for GameArt.com