

GameArt Spotlight #36
"Fathom" by Marius Nita
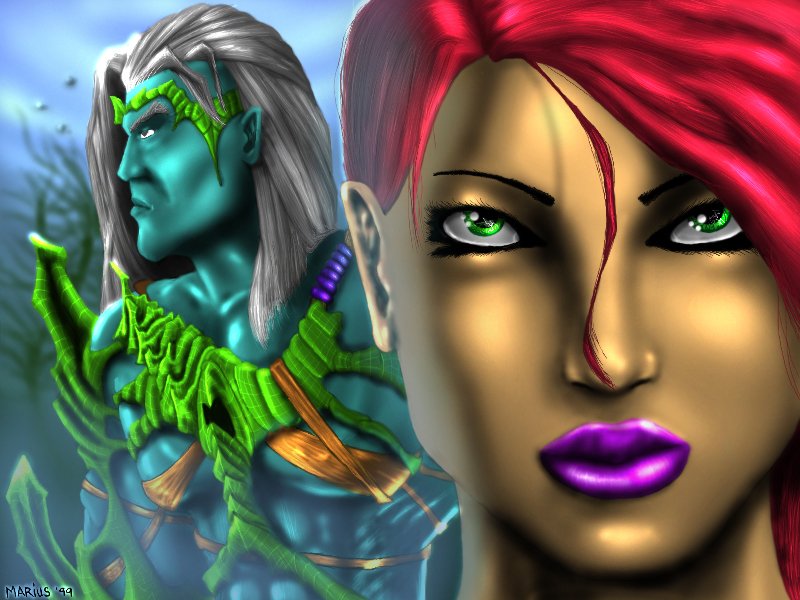
Image details
- Title: Fathom
- Gallery ID: 00692
- Artist name: Marius Nita
- Posting date: 1999-09-06 (a Monday)
- Artist website: http://www2.crosswinds.net/~mariusart
- Tags: sin, girls, women, sexy, water, gods, beauty, paintings
- Image size: 28.65 KB
- Votes: 25
Please be sure to read the Copyright & Legal information text on the About & Help page.
Spotlight article
All right, folks, this stuff is not easy to do, but it doesn't take a lot of learning. This image was drawn using PhotoShop 5, a 6x8 Wacom Intuos tablet, lots of inspiration from Michael Turner, and just a little bit of talent, I guess...
First, I open a blank white image in PhotoShop, of an awkward size. This one was 400x400 I think. Then, I sketch main parts of my drawing, like the positioning of the characters and stuff, a very rough sketch, so I'd get a somewhat clear idea of what the drawing will look like. Then, I adjust the brightness/contrast to make the drawing faint, and I draw a more refined sketch (on the same layer).
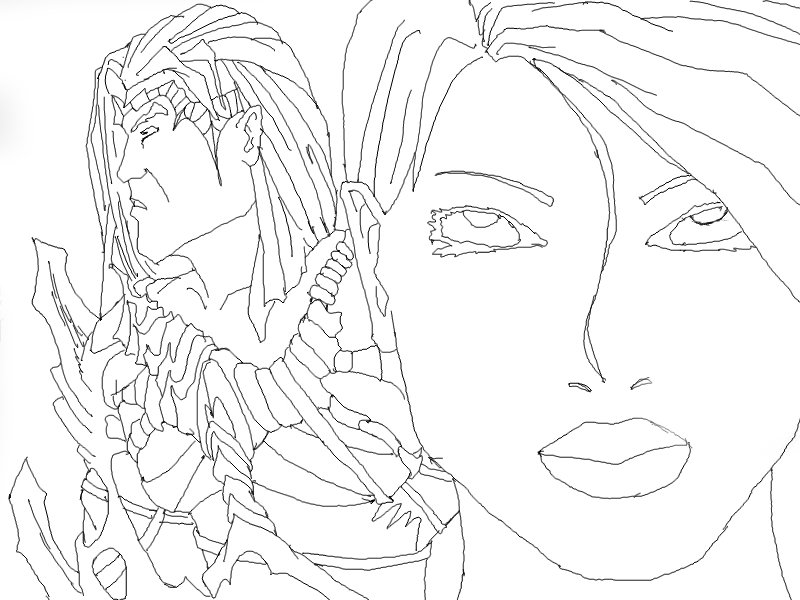
Next, I adjust the brightness/contrast and make the sketch very light again, open a new layer on top of it, and, while on the top layer, trace the sketch with a clean black line, using the paintbrush tool and the smallest brush. Then I flatten the image. Here's what I got so far:
Next step is color. I'll open a new layer, and then set the layer to 'multiply' so the black lines from the layer below will stay on top of the color. To color I use the paintbrush (non-feathered brush only) with pressure-size selected (option only available with a pressure-sensitive tablet), and I color the whole picture in.
While still on the color layer, I start shading. To do that I use the Dodge/Burn tool set to 'highlights.' As far as pressure, I switch between 'size' and 'opacity', depending on the situation. I select 'size' to highlight small areas, and 'opacity' to blend or fade shadows. After I'm done shading, here's what my color layer looks like:

Then I flatten the image, and here's what my whole drawing looks like so far.
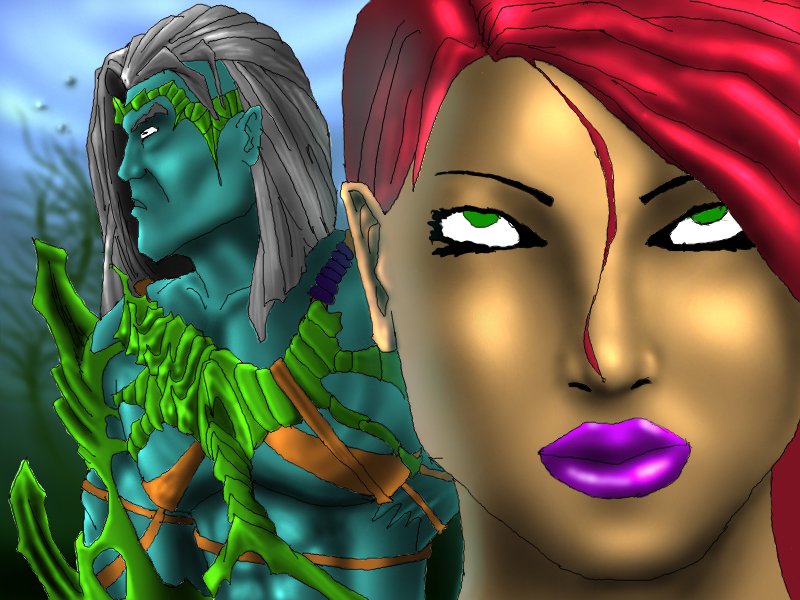
Next step is smudging: I smudge along all the black lines, so they won't look all sharp, and blend them in the color. This a pretty straight-forward process.
Now that I'm done smudging, here comes the most time consuming process: Detail. This part involves a lot of zooming in; I use the paintbrush and the pick-colour tool to refine all the edges and cover all the smudged black lines, and most importantly, the dodge/burn tool set to small feathered brush to add detail, like veins, wrikles, etc. This is where I do all the detail on the eyes, face, etc. As you can see, the highlights in the face are more defined in the final cut than the shaded step. I used the dodge/burn tool to detail the hair, and the paintbrush to draw the strands of hair that are sticking out. Finally, I used the airbrush (set to 'Lighten') to draw the mist on the guy, since he's supposed to be like an underwater inhabitant.
Well, here you have it! Not too hard...The eyes on the girl are not my style, since this was supposed to mimic Michael Turner's style, but I kinda like it this way. It makes it look more comicky.=) Wow, you made it all the way to the end and you're still awake! Thank you.
Text written by Marius Nita for GameArt.com