

GameArt Spotlight #56
"Quad Angel" by Ben Barker
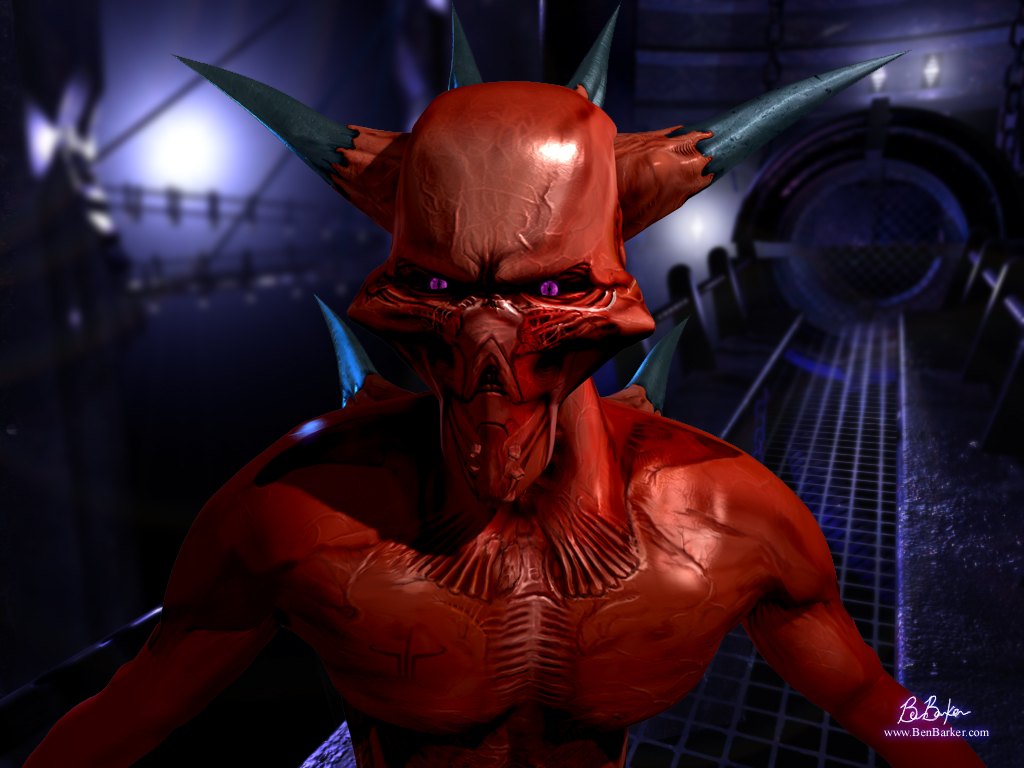
Image details
- Title: Quad Angel
- Gallery ID: 00889
- Artist name: Ben Barker
- Posting date: 2000-04-23 (a Sunday)
- Artist website: http://www.benbarker.com
- Tags: quake3, arena, klesk, demons, hell, satans, doom, renderings, rendered
- Image size: 20.71 KB
- Votes: 38
Please be sure to read the Copyright & Legal information text on the About & Help page.
Spotlight article
I began the Klesk image when I realized that, while there were plenty of renderings based on the original id models, there were practically none from completely original models. This wasn't all bad, but it meant that nobody really had a nice, cinematic quality Klesk image. So I started out making one.
The first thing I did was come up with a color scheme. Color is very important, and if an image is going to work it has to be considered from the get-go. I came up with a combination of red, blue, and magenta.

Red was, obviously, the hottest color, and therefore belonged in the foreground. But the original id Klesk is mostly brown. That's not right, I think. I mean, if he's supposed to be from an alien race called the "Chitinids", don't you think he would be covered with chitin? To me, chitin means crabs, and crabs mean red (just like those big, fat red crabs in Seattle). THAT'S what I'm talking about. I wanted him to look as if you knocked on the top of his head it would make a solid, thocking noise. Keeping that in mind, I started the modeling process.
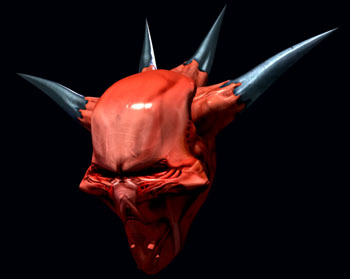
I modeled and textured the entire head before I started on the body. Starting from a base NURBS sphere I pulled out the shape I wanted, keeping in mind sockets for the eyes/horns. I also made little cylinders for the face tubes. I mapped the whole thing with a cylindrical gizmo. Then I drew the texture map in Photoshop. Here is an early test rendering:
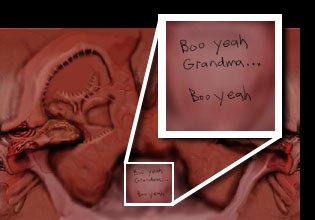
Because of the cylindrical mapping, I now had a glaring mapping pole on the bottom and top of the head. I didn't care about the bottom, since that would be covered by the neck. I even wrote a little message on the texture. Since it is unseen it doesn't really matter, and I was bored. OK?
But for the top something had to be done. So I used 3D Studio's UVW channels option to put another "layer" of texture on the top of the head. This texture was mapped with a plane straight down, and transitioned into the main head texture with a gradient. This produced that nice forehead "veins underneath a shell" look on the final image.
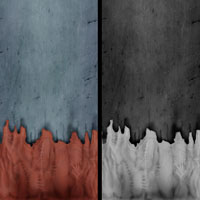
The horns were modeled in much the same way. I lathed out a spline into a pointy horn shape, then gave it a cylindrical map. The material for the horns is really a mixture, consisting of a metal texture and a flesh texture. Don't get me wrong, the horns are one piece, with one material. There is just a mix between Metal shading and Blinn shading. I then made a displacement map, and applied it to the horns so the flesh would be raised above the metal. Here is the texture next to its displacement/bump map:
All of the horns are really just the same horn. I copied them all, and rotated the texture so it wouldn't be too obvious.
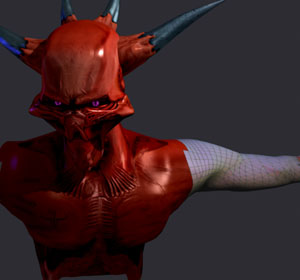
The body was modeled from a patch grid. I tried this about 3 times before I got it right. I ended up modeling half of the body and mirroring it. Here is a test rendering of the un-textured body attached to the completed head. (I modeled the hand/arm separately, then attached it later.)
The mapping of the body was very complex, rather too complex for what I'm comfortable with. I wanted the body to be asymmetrical, so I gave the whole thing one big cylindrical map just like the head. Also like the head, I used UVW channels to apply a planar map to the shoulders, and transitioned between two texture maps with a gradient. I didn't care if the arms had symmetrical texture maps, so I deleted one arm and concentrated on mapping the other, relying on the fact that I would be mirroring it later. I gave the arm a separate cylindrical map, with a totally different face ID. That meant I couldn't transition between the body/arm with a gradient. So, I finished the body and shoulders before I started on the arm. There was already a nice transition gradient between the texture on the shoulders and the texture on the body, so I didn't have to worry about seams. But the texture on the arm had a sharp border, so I had to carefully draw the texture to match up with body material. Here is what I had to contend with:
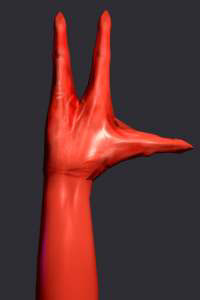
This involved drawing a little, going to 3D Studio, checking, drawing some more, etc. I used the popular wireframe-texture generating utility Texporter (Was available on www.3dcafe.com, link dead as of April 23rd, 2015) to get my base wireframes. The seam ended up being pretty minute. It's small enough so that I can remove the seam easily in Photoshop for a still rendering, and it won't be noticed in an animation. The hands were mapped with a planar map, one for the top and one for the bottom. I was going to make metallic nails, but when I realized the hands probably wouldn't make it into the final image I stopped. Here is an image of the hand, sans nails, which is not visible in the final image.
I then mirrored the arm, and attached the clone to the other side. I created the eyes, popped them into the head, and set them to follow the camera. This completed the upper body. Taking into account all of the texture maps, bump maps, blend maps etc., the Klesk upper body and head has around 21 textures!
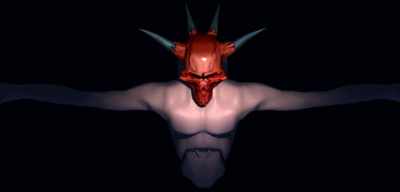
Finally, I linked the body to the Character Studio Biped with Physique, so I could move the arms around and stuff. I also constructed the background, which I didn't spend too much time on (it was going to blurred anyway, hey). The final rendering was done in 5000x3750. It took about 4 hours on my Pentium 200. I touched it up in Photoshop, sized it down, and composited it over the pre-rendered background image.
Phew! Projects like this make me look at the Digital Anvil opening cinematic and drool. Man, that's a really good Sarge. Maybe I... nah. :)
Text written by Ben Barker for GameArt.com