

GameArt Spotlight #66
"Mr. Drown" by Big O.
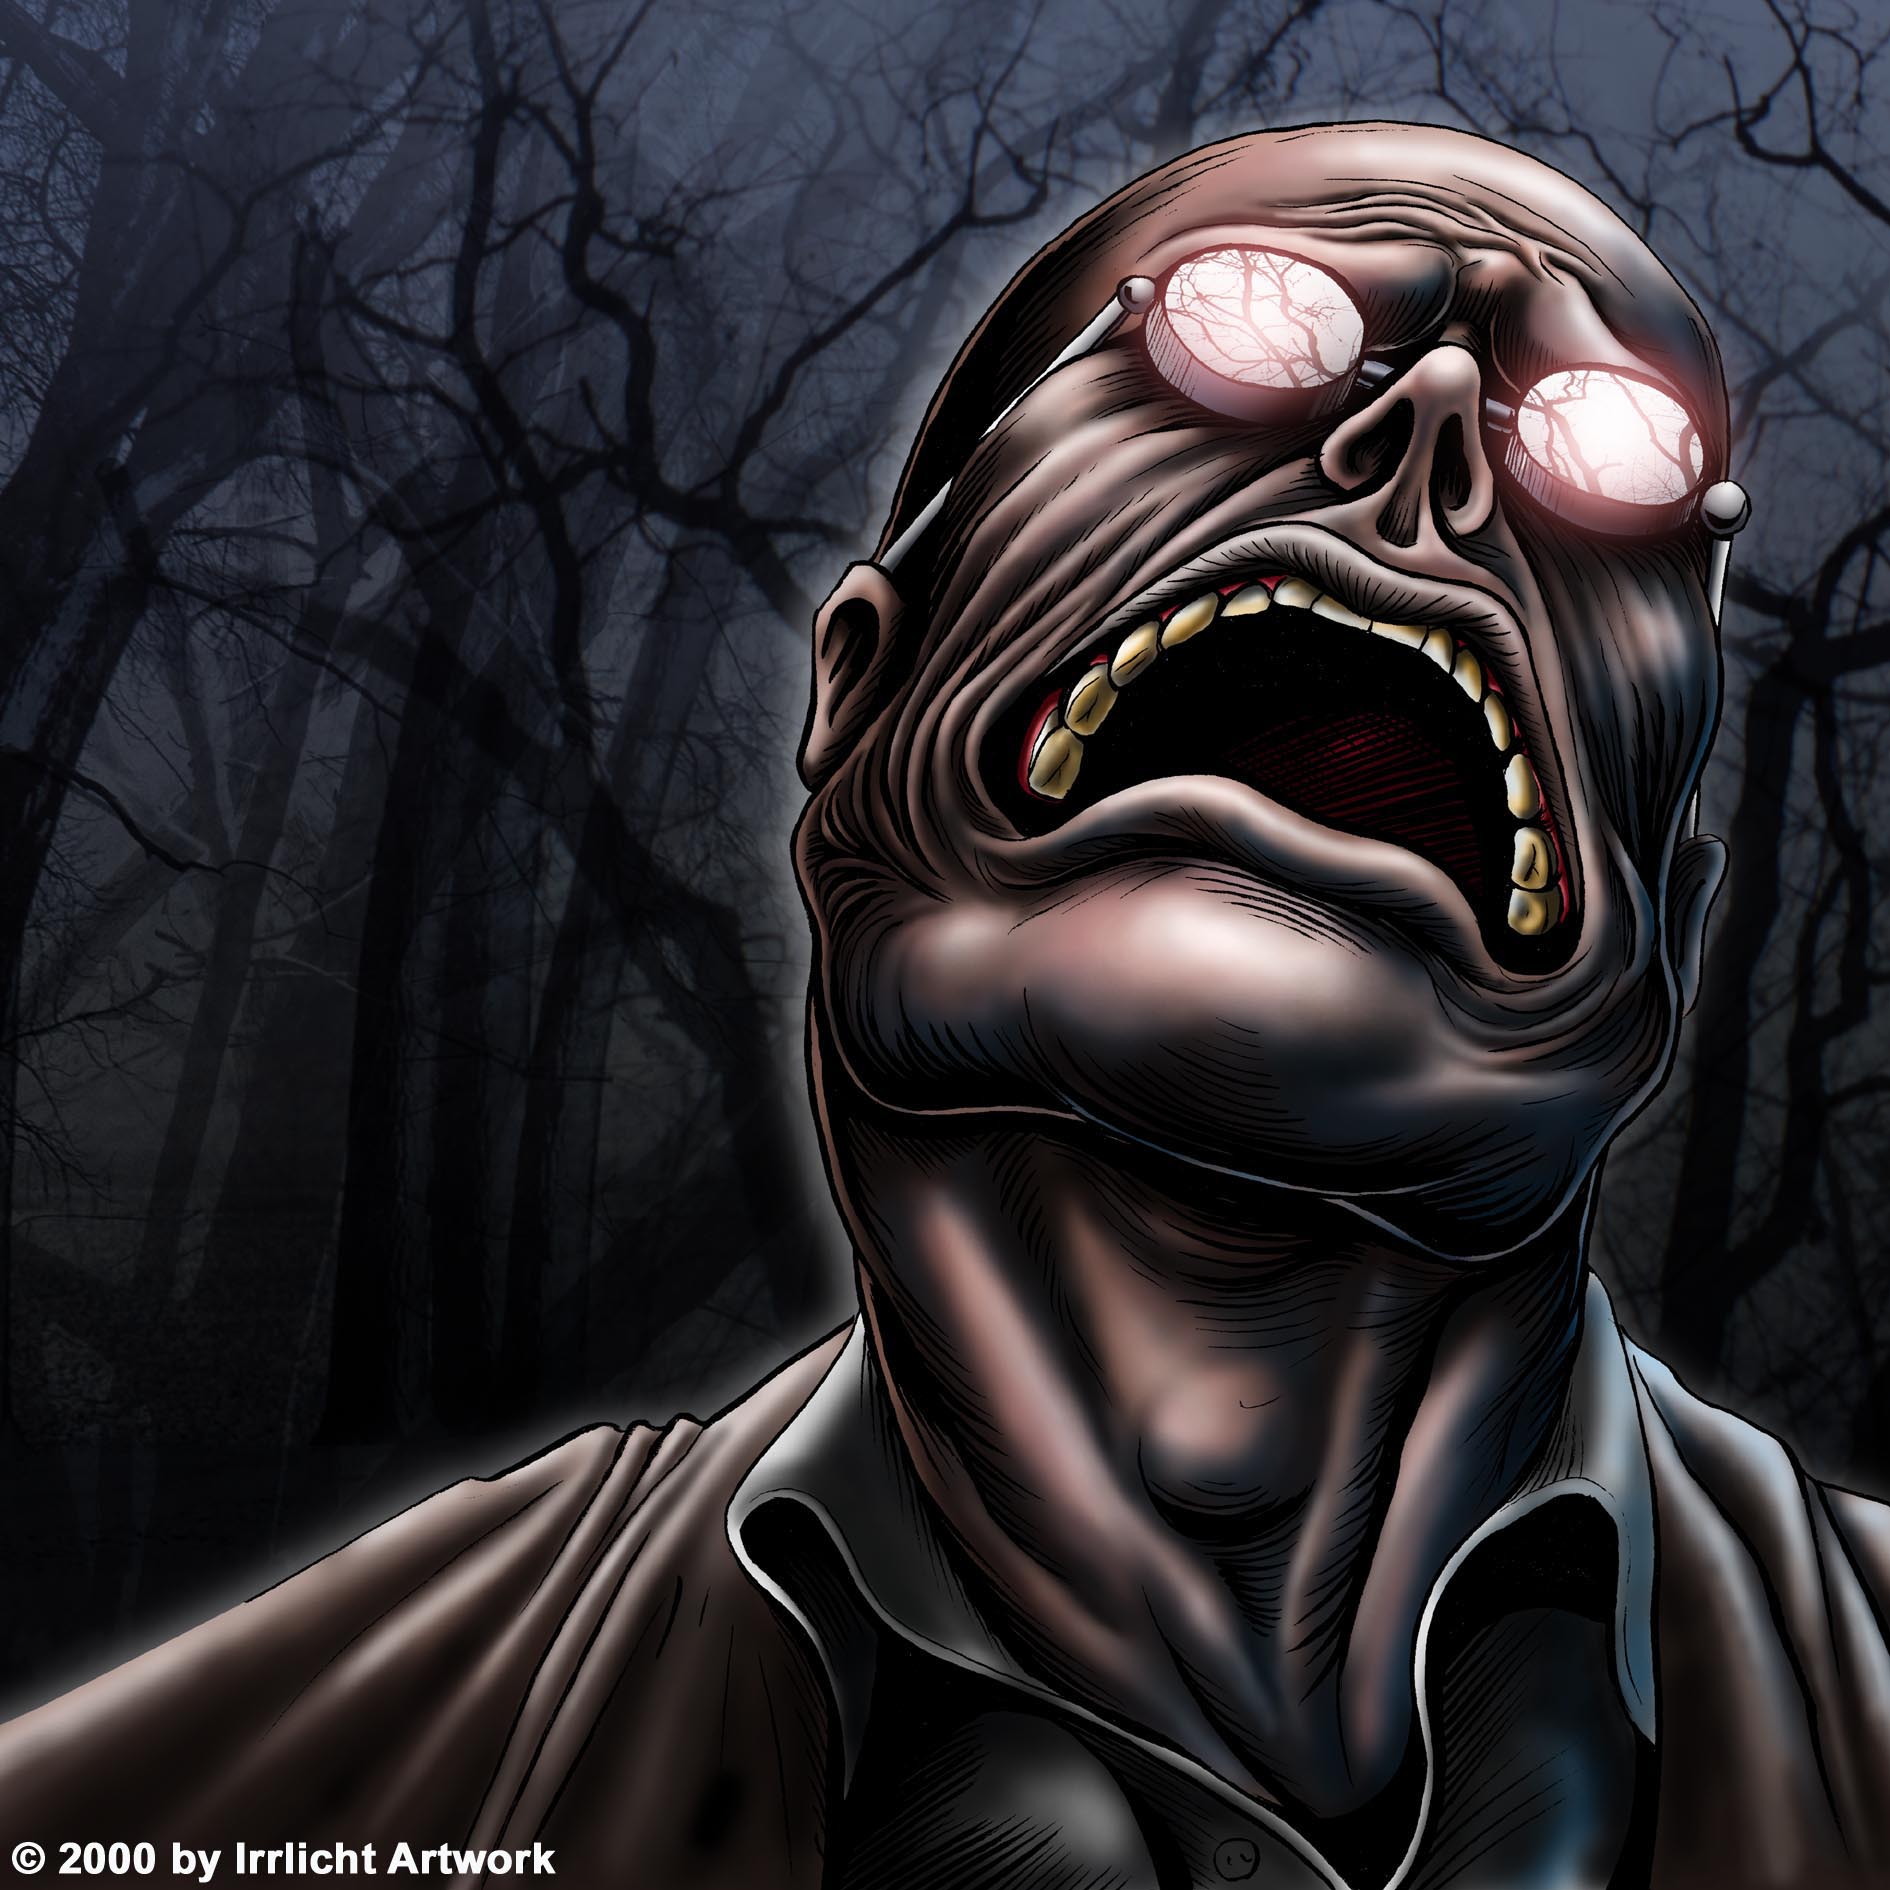
Image details
- Title: Mr. Drown
- Gallery ID: 00924
- Artist name: Big O.
- Posting date: 2000-06-14 (a Wednesday)
- Artist website: Unknown
- Tags: King, Pin, Life, of, crime, criminals, faces, wallpapers, paintings, drawings
- Image size: 34.07 KB
- Votes: 29
Please be sure to read the Copyright & Legal information text on the About & Help page.
Spotlight article
This is a short introduction about how i work. It really doesn't differ much from the other spotlights, but i hope it will be of some use for people.
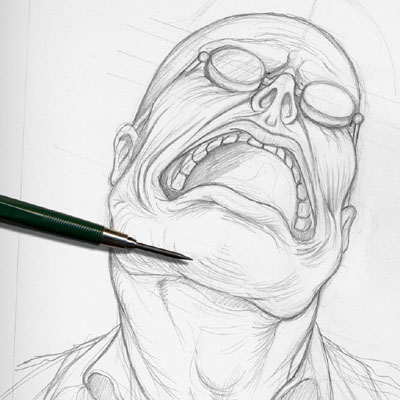
Normally I begin scetching on paper with a ragular pencil or a ballpen. There's no reason not to start in photoshop directly, but i like the feeling of working on some real material before it gets digital. I start scetching around until shapes and sizes seem right, them i use a softer pencil to thicken the lines and do some shading. It's of great use to define the shading exactly at this point, because it makes inking easier. As i said before it's also possible to draw in Photoshop, using a transparent layer for the pencil scetch. It works best with the pencil tool itself, because there's no delay when drawing lines with a sharp edged brush.
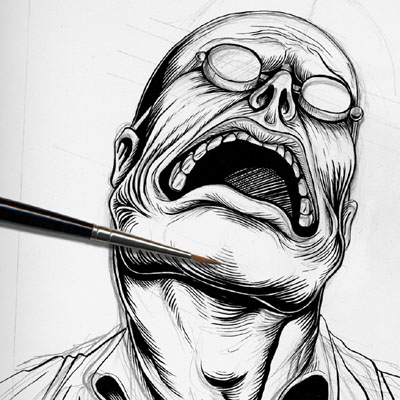
Now it comes to inking, the process with the greates danger of messing it all up. When inking on paper, i use a good brush sized from 0 to 2. I prefer a brush instaed of a dip-pen, because it holds more ink and gives a more varied line. In Photoshop you can use the brush tool inking on a new layer, erasing the scatch-layer when finished. On paper the pencil lines are also erased, the whole image is scanned (look on the how-to-scan-special on gameart, very good!) and finally transfered into Photoshop.
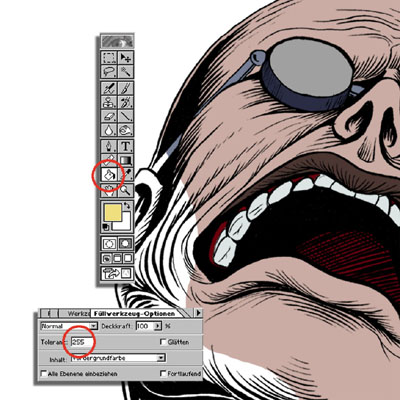
The black lines of the image are copied into a seperate layer by choosing the black channel in the channel pallette and invert the selection. I use the pah tool to define the basic areas and fill them with the filling-tool in some suitable colors. At this point you can set the mood of the picture by choosing the colors right, although they will change in the detailing process.
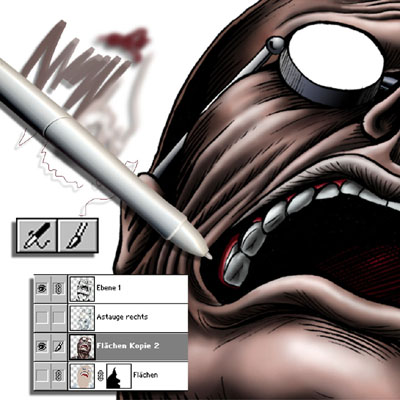
I copy the flat-layer, choose my working area by using the magic wand with a tolerance of 0 and start shading and detailing. This is the fun part IMO. I work with an intuos artpad from wacom, simply the best tool for drawing on screen. I start with a soft egded brush to set the basics and the airbrush to soften the lines. Try to work from mid-tones to light and dark, for special lighting and shading you can use some more layers. Even if Photoshop is one of the most stable programs, don't forget to save early and often. Nothing hurts more than a system crash after hours of work, when everything is lost in a second. Working with a computer has many advantages like undo-functions etc. but unlike a picture on paper, your work won't have even existed if some error erases it from disk.
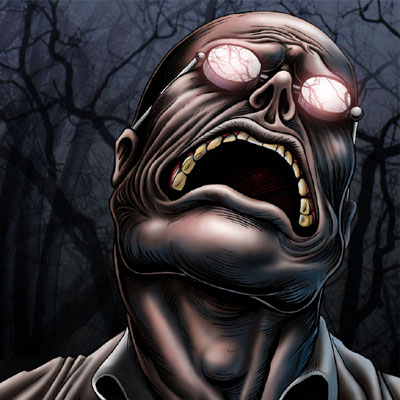
After finishing the details, I add a background that i create out of fotos, merged together in different file. I like the contrast between photographic images and drawn pictures so most of my backgrounds are from real life. When everything is set, i add some gimmicks like coloured lights, lens flares, blur effects etc. Thats it. Have fun.
Text written by Big O. for GameArt.com