

GameArt Spotlight #67
"Master of Storms" by Rust
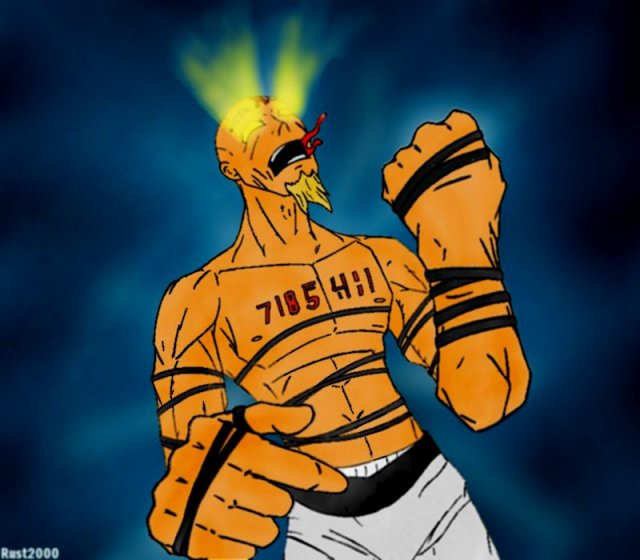
Image details
- Title: Master of Storms
- Gallery ID: 00939
- Artist name: Rust
- Posting date: 2000-07-11 (a Tuesday)
- Artist website: Unknown
- Tags: Sanity, heros, comics, style, prisioners, fists
- Image size: 26.44 KB
- Votes: 23
Please be sure to read the Copyright & Legal information text on the About & Help page.
Spotlight article
Hello, my name is Rust, and I'm going to narrate a closer look at our little master of storms here. If you didn't recognize him, this is Abel, one of the totem masters of Monolith's upcoming cyberpunk RPG "Sanity". Say hello to Abeland let's continue.
I start the sketch with a basic 0.5 mechanical pencil. While some people swear that a good old wooden #2 pencil is the only way to draw, since we're planning on scanning this image and coloring it, we want to stay as crisp and clean as possible. Once the pencil image is complete, I reach for a pilot ballpoint pen. While it may not be the most art oriented drawing device, I find that it provides a very easy to control flow of dark ink (I haven't liked fountain pens since a bubble burst in the tip of the last one I used, which ruined several hours of work).
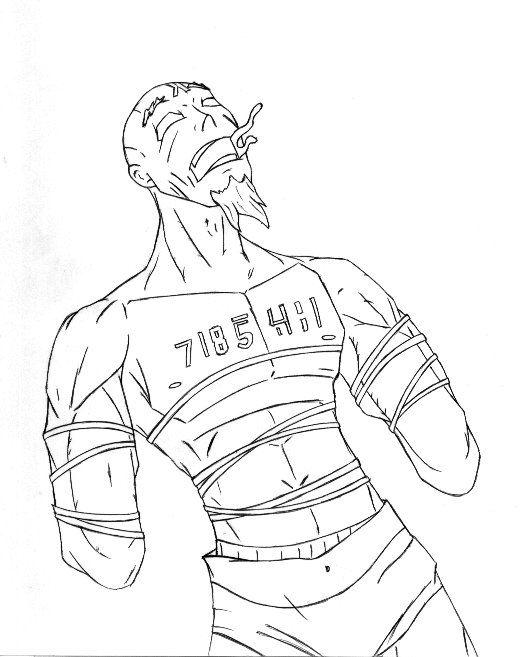
When drawing, I like to use a "puzzle piece" strategy, and draw some parts of the picture separately. As you can see in this image, I did not draw Abel's arms past his elbows (maybe that's why he looks so mad). I did this so I could experiment with dynamic positions of his hands and forearms. Since hands can be very difficult to draw, I like to sketch a few on a separate sheet of paper, and select the ones I feel best suit the main picture (it also saves wear and tear on the original if I don't like how it turns out, and have to erase it).
Once the pictures have been inked thoroughly, and all the pencil lines erased, it is time to scan them into the computer. Once they're in our little art program, I like to set them to grayscale, and turn the brightness down to about -30 and the contrast up to 30 or so, though those settings could really be changed around a bit as situations dictate. This gives the lines a darker and cleaner edged look, and makes it easier to color in. I then save the darkened sketches. Once they're saved, I usually turn the brightness down and the contrast up again, and then decrease the color count to 2 (black and white). This creates a dark and very definite outline (though rather blocky and incomplete in spots). I save these black and white images under a different name, and save them for later.

Now that we have Abel's body, and both his arms scanned in, it is time to work on what will become our main image. Creating a new image under the file menu, we create several layers (five for this image). They are, as follows:
Background: Background, where all those blue smudgy clouds are.
Layer 1: Color version of Abel's torso area
Layer 2: B&W outline of Abel's torso area
Layer 3: Color version of Abel's appendages
Layer 4: B&W outline of Abel's appendages
Using the cut and paste as transparent tools, the appropriate images are placed onto each of the layers (the grayscale originals placed on the layers where coloring will be done, and the B&W outlines on outline layers).
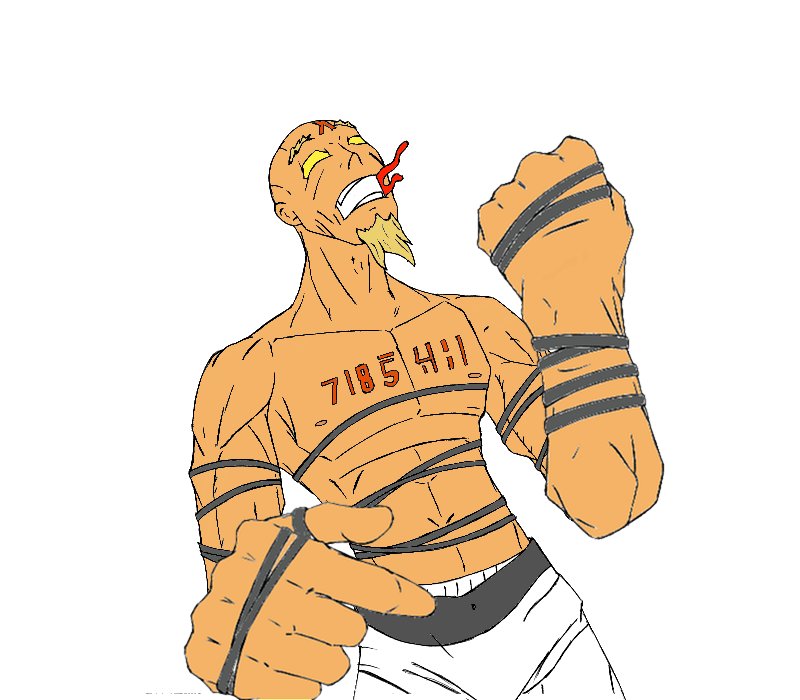
Once the coloring begins, I grab the good old magic wand tool, and try to use the highest tolerance possible (to paint over as much gray grit as the computer will allow). The coloring portion is relatively easy, using the magic wand to keep the coloring within the lines. Once the base color coat is put down, shadows and extra effects can be added using the burn tool, with some airbrushing for darker areas. Be sure to keep color off of the layers intended to be used with the black and white outlines, as altering the outlines could then result in a change in color.
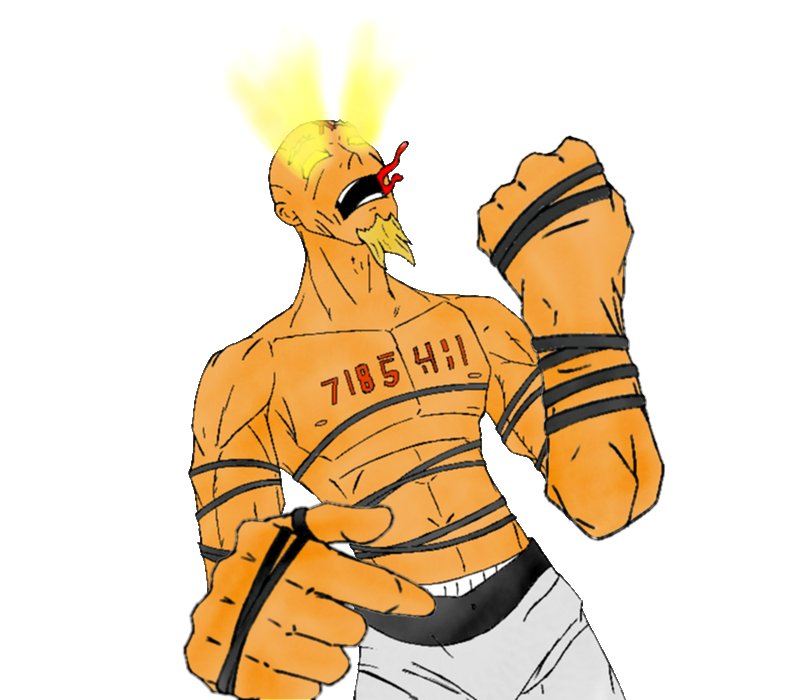
The background was created with random airbrush swipes originating from "underneath" Abel, with a semi-transparent brush, followed by lots of blurring and pushing. On this layer you should also erase the background away from beneath white spots on the character's body (like Abel's teeth and the elastic band in his pants). Smudgy blue teeth is a sign that you aren't brushing enough, and Abel has strong beliefs in oral hygiene.
And then there you have it, pretty much start to finish. The whole fiasco took me about 6 hours from start to finish, but that also includes going out for a pizza and watching an episode of Gundam Wing. Hope I didn't bore you too much, and as always, lets all learn from our mistakes!
Text written by Rust for GameArt.com