

GameArt Spotlight #72
"Zulu Company" by J. D. Green
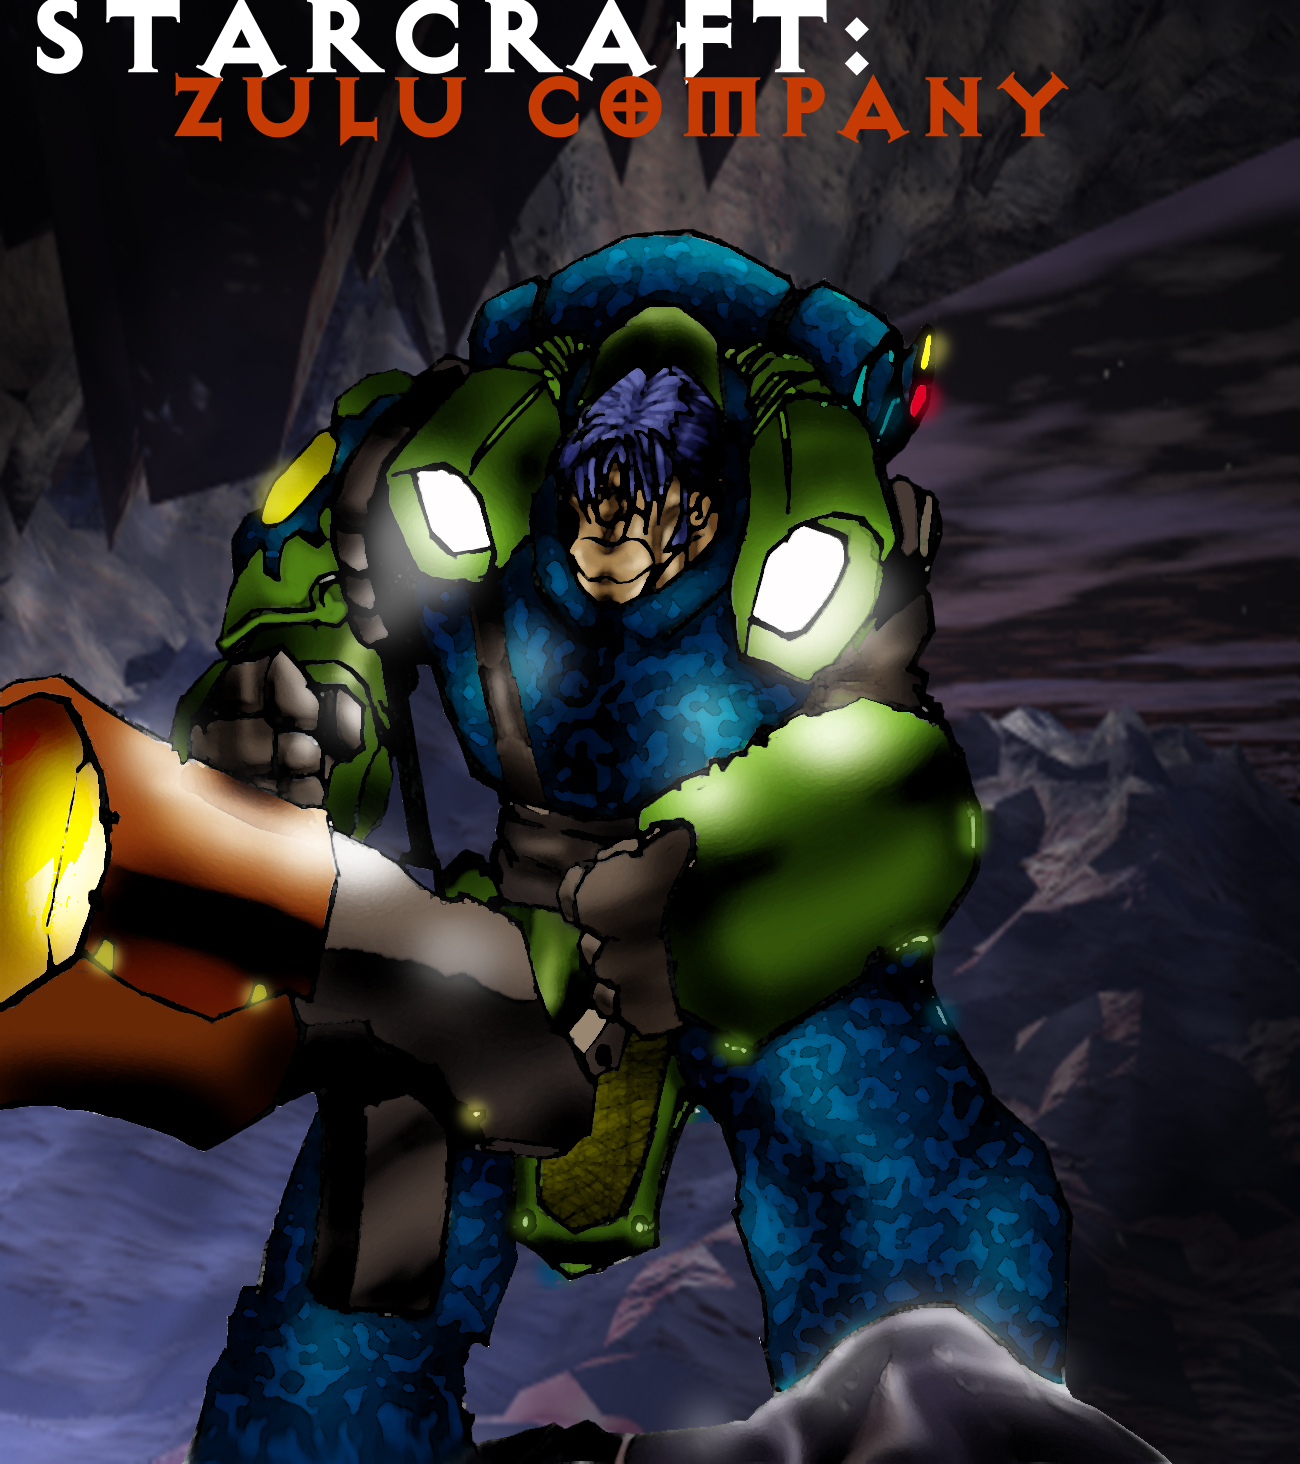
Image details
- Title: Zulu Company
- Gallery ID: 00977
- Artist name: J. D. Green
- Posting date: 2000-08-06 (a Sunday)
- Artist website: Unknown
- Tags: starcraft, broodwar, drawings, marines, mechs, , suits, hammers
- Image size: 38.8 KB
- Votes: 21
Please be sure to read the Copyright & Legal information text on the About & Help page.
Spotlight article
So, "how does he do it?" they ask? I don't have any "in-between" pictures but I'll keep that in mind for any future submissions. For ZULU COMPANY, I first sketched out the basic idea for my character. Just you basic flamer unit marine from Starcraft. I scan him in and shrink him down to about 600x1100 pixels or so--make sure you scan at 300 dpi otherwise your pic will be way schwag we you get it into Photoshop. Now we get to the fun stuff--coloring.
Coloring can happen 2 ways. 1- for a fat-lined picture like this where there's no line detail, you just use the wand tool and select the area you want to color-- this will keep the color from going everywhere and also tell you where the breaks in your line work is. Then, just lay flat colors down, decide what color combos work the best and place them on the pic the way you want.
After the colors are set, SAVE IT!!!!!! Then, use the wand again and select all a patch of color, go to the options menu and select similar. This will select all the ame colored patches and you can color together thereby increasing the continuity of your piece as well as adding legitimacy to your color choice by not having any discrepancies between one patch of blue and the next. Now, before you unselect, and after you've added a secondary color to suggest light or dark, play with the burn and dodge tool a little. Since only the color you've selected is being affected, you can now play with some of the filters and change all selected patches at the same time. I use a watercolor filter on top of a sponge filter set at 15,1, and 1. Then move on to the next color set and repeat the above steps.
Coloring way #2- The other way to do it is simply choose from the "layer" options and select duplicate. This will make it so you can color over top your line work-- for the pieces that have a lot of definition in them this REALLY finishes them out nice.
So, after the colorings done we have to add a background. Enter Bryce 4d. Killer program, pretty cheap and you can do a lot with it. I decided I needed a space background reminiscent of Starcraft maps so after some messing around, I found a camera angle that worked and rendered it, saved it and imported it.
Next take your wand and select the enter white background- you may have to do this a couple of times for spaces like between the legs-- and "paste into" that space. Ok, we're almost done. Now we need to establish a forground to tie the whole thing together so I suggest with this pic, line in a forground much like I did with the marine himself then copy and paste a section of the space rock used as the background.
Now every time you cut and paste, you're created a new layer, this is ok, just remeber to alway go back to the original before you lay down the next layer. OK, we're almost finished!!! Now we just have to "dress it out" make sure that no seams are showing --like white lines between the marine and the background. We want to make it look like its all "painted" the same way. This is accomplished a couple of ways. But for the marine I chose to blur a little and then add a layer at 50% opacity and add light flares and glowing effects.
This picture took me 10 hours to do. Don't get discouraged. Use any type of program you can get your hands on to make your pictures. And remember, if you can use 4 programs to make one picture and it looks like you used only one, I'd say you got skills!
Text written by J. D. Green for GameArt.com