

GameArt Spotlight #59
"Waiting for a Shodan" by Turbine Angel
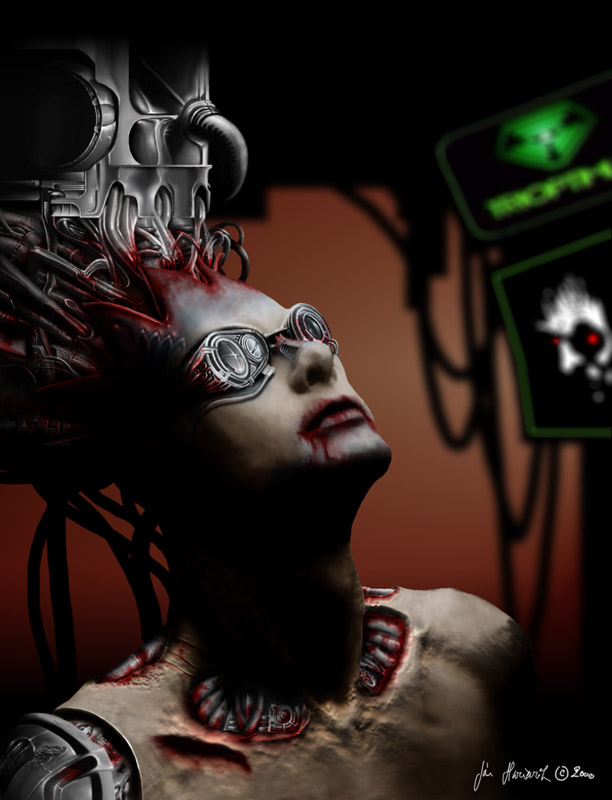
Image details
- Title: Waiting for a Shodan
- Gallery ID: 00906
- Artist name: Turbine Angel
- Posting date: 2000-05-18 (a Thursday)
- Artist website: http://www.gameart.com/turbine/
- Tags: System, Shock, 2, biomechanical, humans, aliens, metal, paintings
- Image size: 29.25 KB
- Votes: 42
Please be sure to read the Copyright & Legal information text on the About & Help page.
Spotlight article
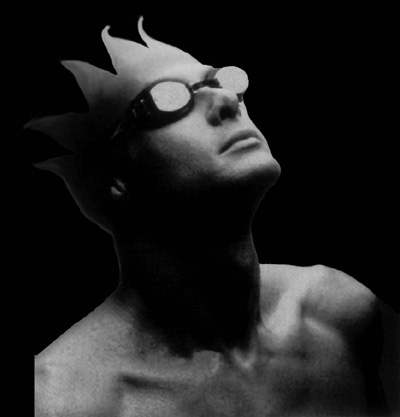
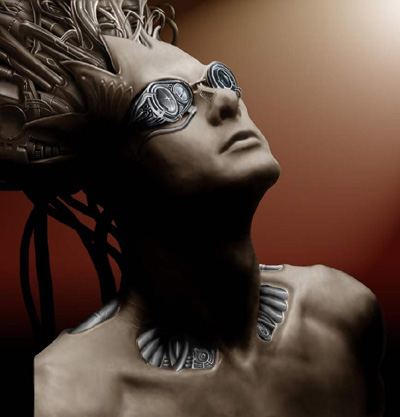
For this session "ART of LOBOTOMY" we will need some subject. It could be your favorite victim from neighborhood or school. My victim came from newsletters.

Let's call him Jack. I'm not sure, he is probably swimmer, but for sure he is the one who will suffer during our sharpening of skills. And of course we need some surgical software (Photoshop 5.5 is recommended but not required).
Clean up the space around him. Make a cut on the top of the skull and open it using the Smudge tool. Set the brush to approximately 60 pressure and 15 size (depends on your resolution).
Insert the first parts of the mainframe. You can use the same method as before (Same method, same tool, same options). Also add some color: Image > Adjust > Variations. Set the midtones and that little triangle on the third step form left. Click on yellow then red, press OK. Skin seems to be too saturated so press Ctrl+U and set Saturation to -45. Finally go to Image > Adjust > Brightness/Contrast and set the contrast to +20 (Depends on the reference image).
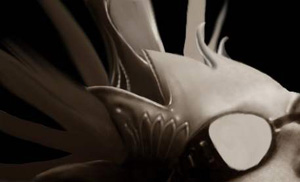
Now we'll add some "tactical neural implants". This is a part of a process where a tablet might be very useful, but a mouse can do it too. Copy parts of the mainframe, and set the pressure to 10 on the Dodge tool, brush size 5, hardness 100, because we need no blur on the implant. Using slow, soft strokes create highlights on it. Keep the Dodge tool and settings, press and hold the Alt key, which will set to Burn. Add some light and shadow always remembering where the light source is. Results depends on your resources of time, creativity and patience. If you wish, add a background.
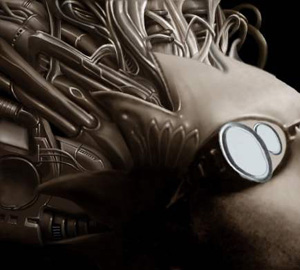
Create a new layer and draw the basic shapes of a "visual data transmitter". Use gray color as we will convert all mechanical parts to same color later, because we need to make some visual contrast between flesh and steel. Develop some heights and deeps using the Dodge and Burn tools. Insert the lens and the rest of transmitter.

Take the Smudge tool to make the skin "soft and wet" so nobody can say: "This guy is a drowned swimmer who disappeared two weeks ago" ;)
Now press Ctrl+Shift+U to desaturate the layer. Go to Image > Adjust > Brightness/Contrast to add some more Contrast and a metallic look. Press Q to enter the Quickmask and select the following brush.
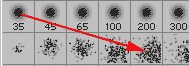
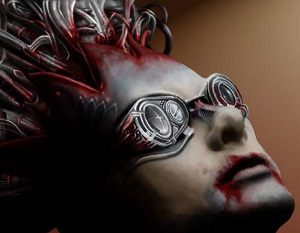
Create an approximately selection where you think the blood might be. Exit the Quickmask and press Ctrl+J. Enter the Variations menu and set that little triangle to the right position, then click to Red and Darker. Click OK and a blood stain will show up. If you do not like the result try Ctrl+Shift+F to reduce the effect. Follow the same path with blue and cyan to make the rest.
Take the Lasso tool and create a selection of the body which you copy to clipboard (Ctrl+C).
Go to the Channel palette, create a new channel and press Ctrl+V. If the pasted image is not in the same position as the source image, fix it. Now duplicate the layer (not channel). Go to Filter > Render > Lightning Effects. Set light intensity to 35, focus to 100, gloss to 0, material to +100, exposure to 0 and ambience to 0. Don't click OK yet, scroll trough the texture channel and find "Alpha 1". Check "White is hight" and height 50. Keep in mind that the light source is on the upper right corner. Again its on your nature, imagination & patience how you set this filter. You can apply some filters such as "Gaussian Blur" on the selection before you paste it to new channel, or just repeat the previous filter (Lightning Effects) by pressing Ctrl+F.

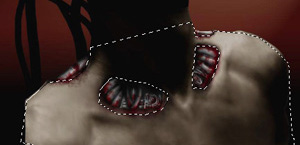
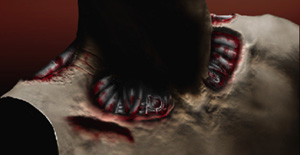
In the same layer, enter Quickmask, take s brush and selection like this.
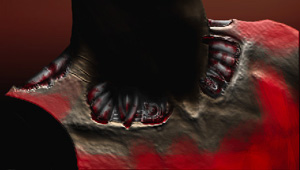
Exit Quickmask and clear the selection. Add some more blood and the result should look like this.
Text written by Turbine Angel for GameArt.com